Show Photos

Show Photos
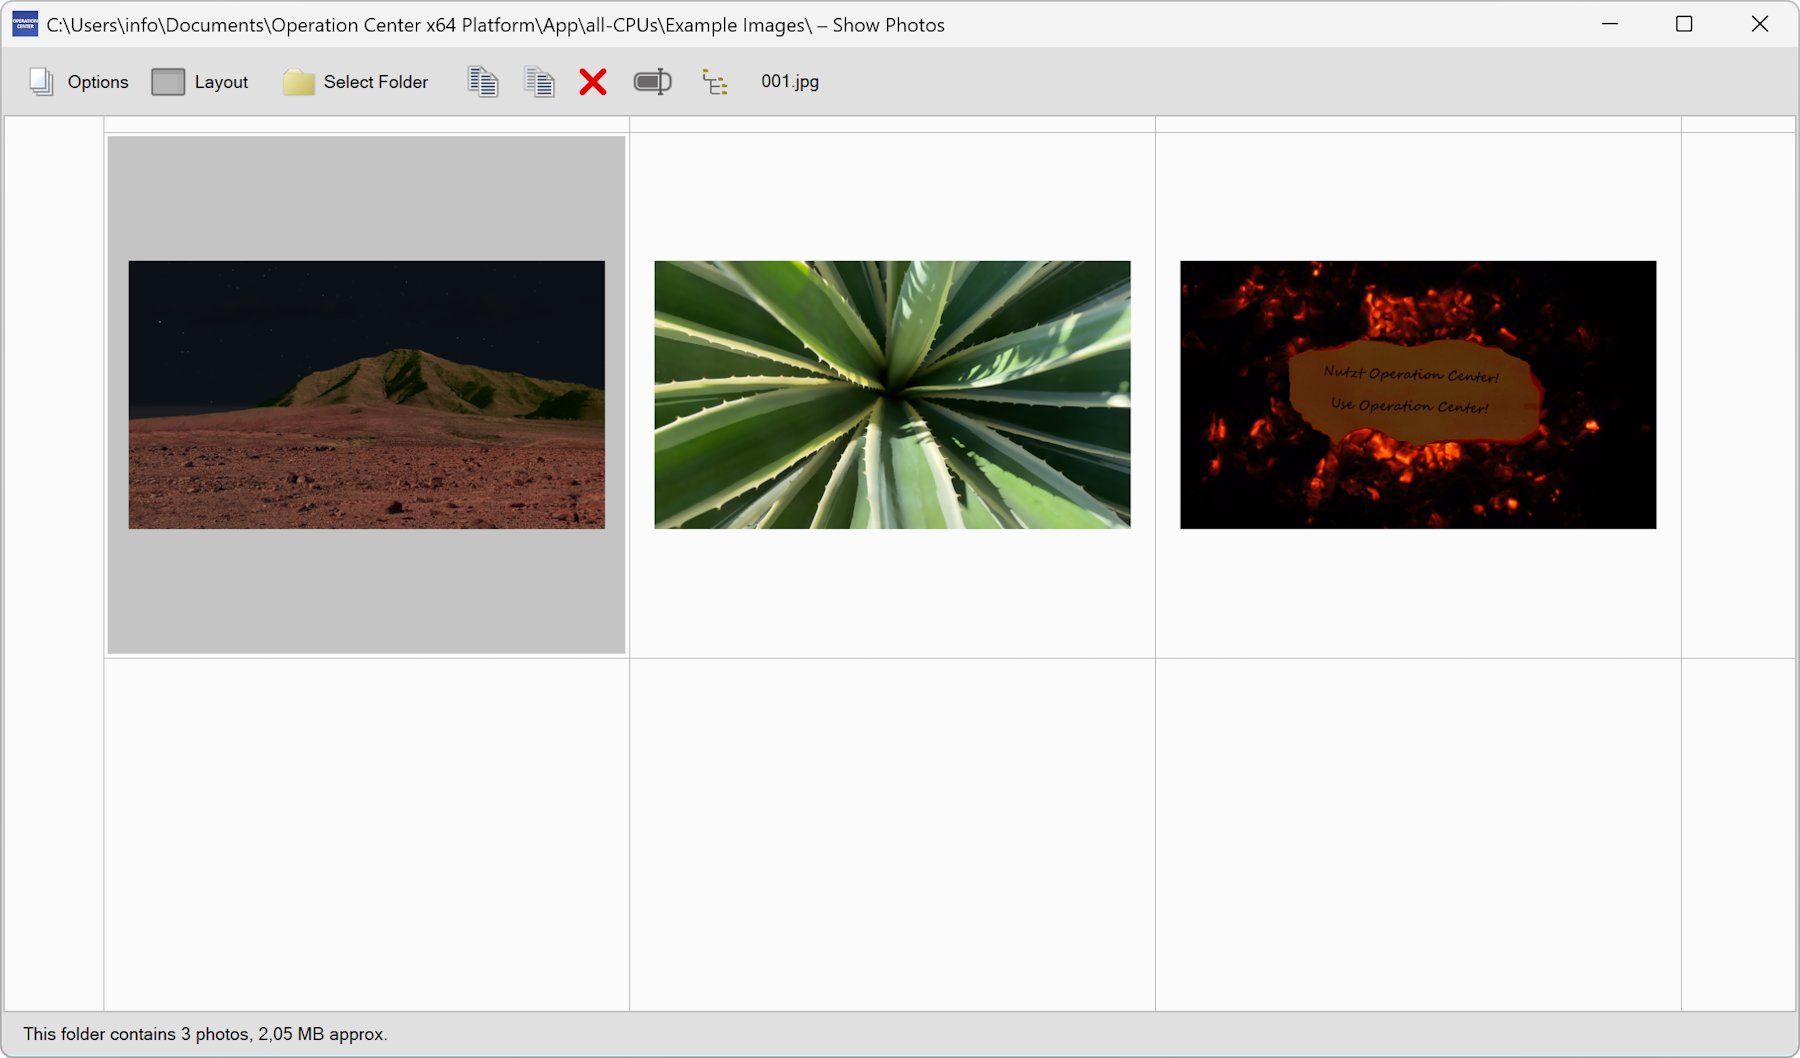
Using the “Show Photos” function you can manage your digital photos in a comfortable way.
You can browse folders and drives for pictures. You can select individual images to print, edit or copy or move them to another location. If you double-click on an image, it will be displayed in full screen mode.
Mark a picture by right-clicking on it or holding down the Ctrl key and clicking on it using the left mouse button.
Select an image by holding down the Ctrl key and then clicking on it with the left mouse button.
You can navigate to any folder using the “Select Folder” menu.
In the “Options” menu you will find all important functions for managing your photos.
Slide Show
▶ Show Photos: Options – Slide Show
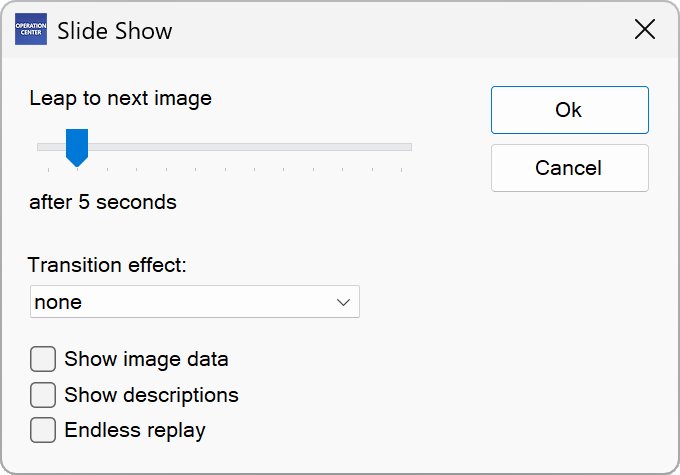
Here you can display photos and image files as a slide show.

You can limit the selection by marking the corresponding pictures in advance. You can also mark subfolders whose images you want to be displayed.
You can specify the time interval after which the next image shall be displayed.
The option “Transition Effect” allows you to show an effect when switching to the next image.
Activate the option “Show image data” to display information about the image.
With “Show descriptions” you determine whether image descriptions should be displayed, if any have been assigned.
With the option “Endless replay” you can determine if the slide show should start all over again after it has run through completely.
Press the space bar or the left mouse button to manually switch to the next image during the slide show.
Press ESC or the right mouse button to exit the slide show. If the query bothers you when you quit, you can deactivate it under “Extras – Options” and “Quit the slide show without asking”.
NOTE:
This function can simulate a fire effect.
This may produce a real-looking firelight that may be seen from outside when shutters are not closed. Please take care not to give the impression of an emergency. This also applies when using the software outdoors.
A small proportion of people are sensitive to visual stimuli, which can lead to discomfort or epileptic symptoms. Always consult a doctor before using any of these products if you belong to this group. It may also affect people who have never suffered from this. Immediately stop use if you experience symptoms such as headache, changes in perception or vision, involuntary movements, twitching, or any other similar condition. Consult a doctor if symptoms persist.
Please pay attention in general when using your PC that the room is adequately illuminated and that you take a break from time to time. Pay attention to notices of the manufacturer of the hardware you are using.
Show EXIF Data
▶ Show Photos: Options – Show EXIF Data
This function shows the EXIF data of a photo. “EXIF” stands for “Exchangeable Image File Format”.
This is metadata with additional information that is added to the digital photo during the photography.
Import Photos from a Memory Card
▶ Show Photos: Options – Import Photos
You can use this wizard to import images from a memory card. To do this, connect the memory card or digital camera to your PC.
Specify the local target folder under “Import to”. The images are given a uniform name with consecutive numbering in the target folder.
NOTE: The images remain unchanged on the digital camera or memory card. Digital cameras must be addressable as drives in order to be recognized.
Import Photos from a Web Page
▶ Show Photos: Options – Import Photos
This wizard allows you to import images from a web page. To do this, enter the URL of the page and choose “Read in”.
Specify the local target folder under “Import to”. Check the boxes in front of the images you want to import and choose “Ok”.
Import a single Photo from a URL
▶ Show Photos: Options – Import Photos
Here you can import a single image from a URL. To do this, enter the URL and choose “Ok”.
Search Photos
▶ Show Photos: Options – Search Photos
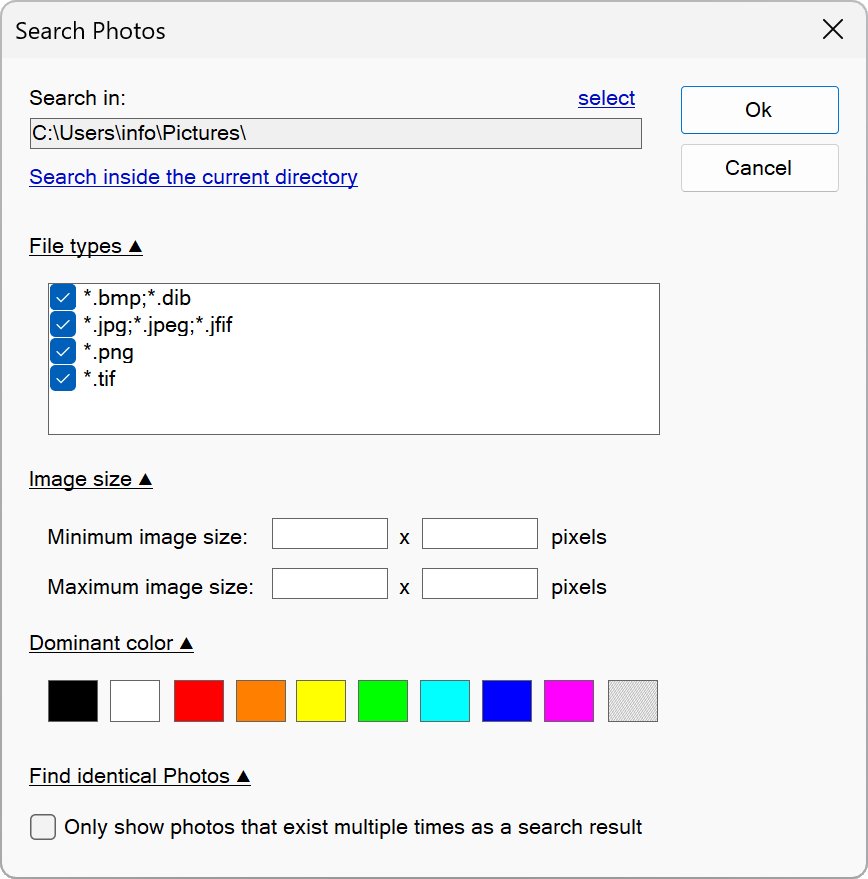
You can use this function to search a drive for images.

You can determine which file types should be included in the search. You can also specify a minimum and maximum size that the images must have. This setting is useful if you For example, you might want to search for high-resolution photos but exclude thumbnails and icons.
Under “Dominating color” you can specify which color the searched images should primarily contain. This is calculated using average values of the overall picture. For this reason, there may also be inaccurate images in the search results.
The setting "Only show photos that exist multiple times as a search result" means that the search result only contains photos that appear twice or more in identical form in the searched area. For this purpose, the image data is compared and the file sizes are also compared. This allows you to find, review, and delete photos that exist multiple times if necessary.
NOTE: Specifying a minimum or maximum size in pixels, or specifying a color will increase the search process time because it requires analyzing the content of each image found.
Batch Conversion
▶ Show Photos: Options – Batch Conversion
This function converts selected images into a uniform file format and optionally into a uniform size.
You should always choose a separate target folder so that no original images are overwritten.
🠈


